Automate Playwright Tests in Next.js 14 Using GitHub Actions
This guide walks you through setting up GitHub Actions to execute Playwright tests for a Next.js 14 project.
Step 1: Configure Playwright
Add or update the configuration file:
playwright.config.tsThe content of the configuration file should be as follows:
import { defineConfig } from '@playwright/test';

export default defineConfig({
  testDir: 'src/tests',
  use: {
    baseURL: 'http://localhost:3000',
    headless: true,
  },
  webServer: {
    command: 'npm run dev',
    port: 3000,
    reuseExistingServer: !process.env.CI,
  },
});
Step 2: Add GitHub Actions Workflow
Create a workflow file at:
.github/workflows/playwright.ymlThe file should contain the following workflow configuration:
name: Playwright Tests
on:
push:
branches:
- main
pull_request:
jobs:
test:
runs-on: ubuntu-latest
steps:
- name: Checkout code
uses: actions/checkout@v3
- name: Setup Node.js
uses: actions/setup-node@v3
with:
node-version: 18
- name: Install dependencies
run: npm install
- name: Install Playwright Browsers
run: npx playwright install chromium
- name: Build the Next.js app
run: npm run build
- name: Run Playwright tests
run: npx playwright test src/tests/visual.spec.ts
#continue-on-error: true
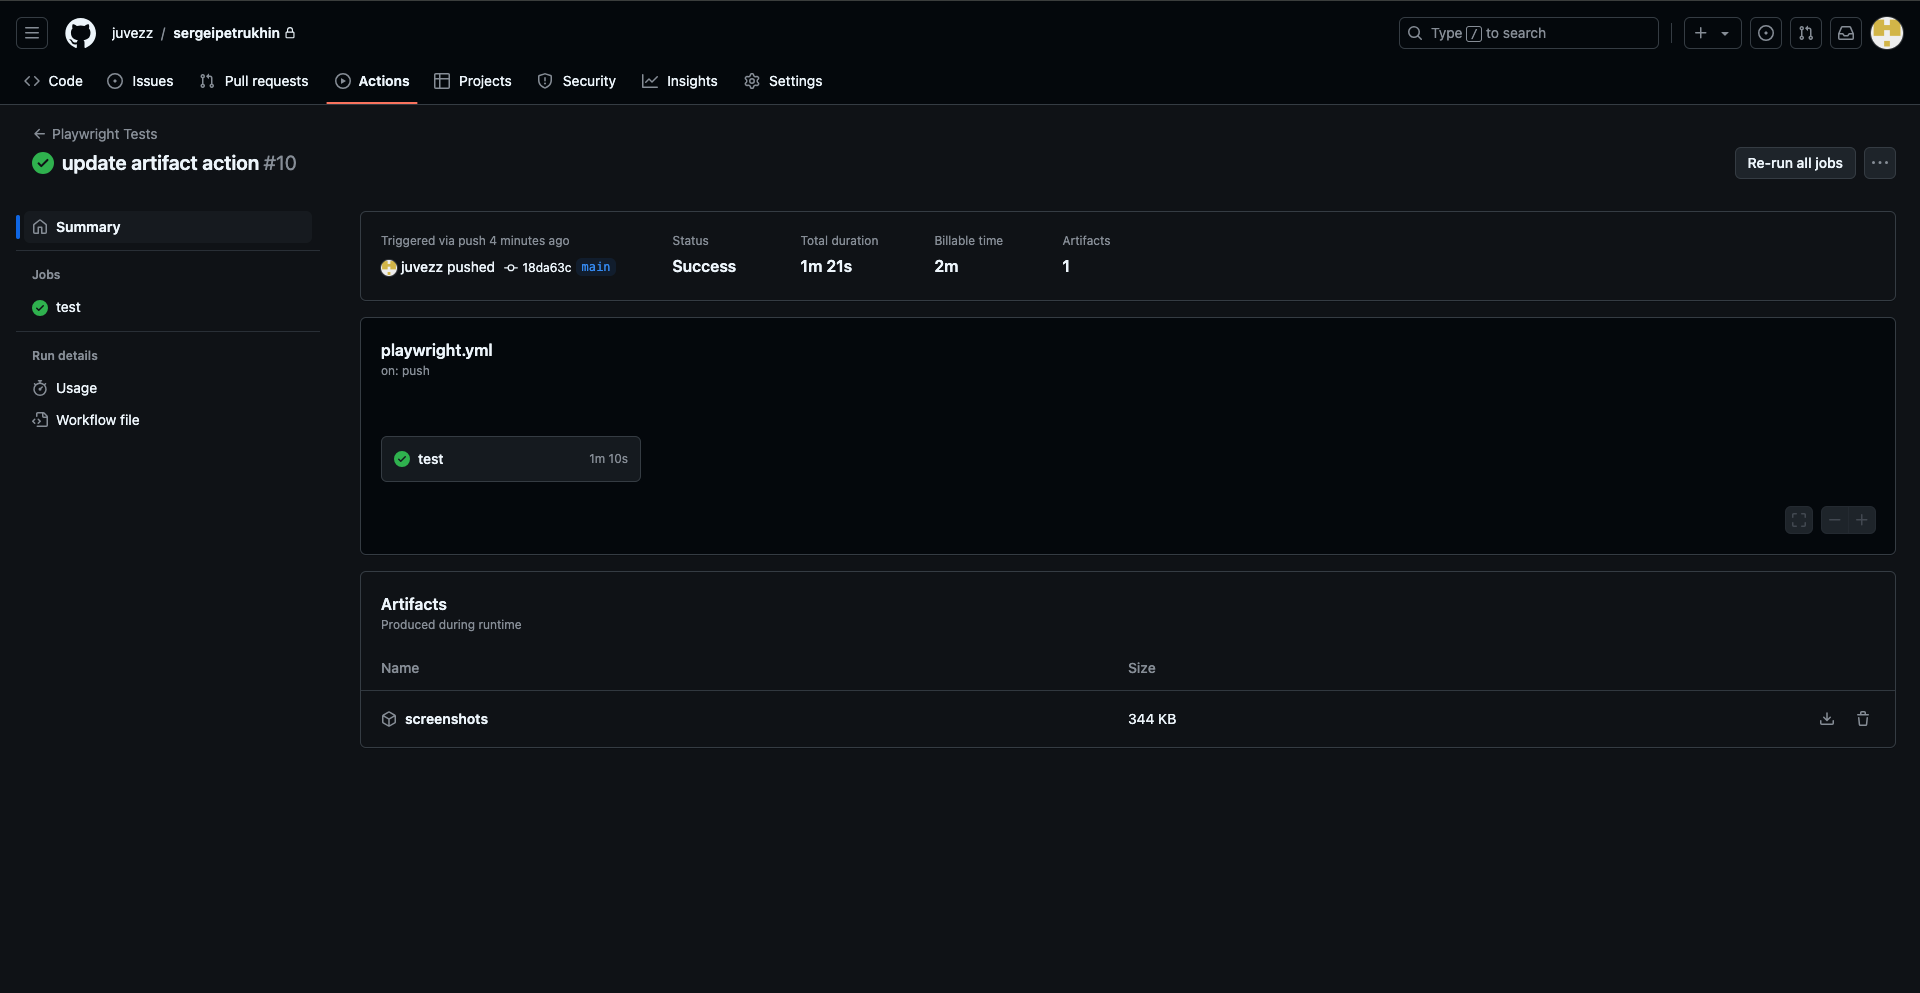
- name: Upload test screenshots as artifacts
uses: actions/upload-artifact@v3
with:
name: screenshots
path: src/tests/visual.spec.ts-snapshots/You will see error message for first attempt that screenshot doesn't exist.
For first running it's needed to uncomment line
#continue-on-error: trueAfter that you should download generated screenshot for linux and commit to project to snapshots directory. This problem exists because of differences in generating html pages 2 different OS macOs and Linux.
Step 3: Write Playwright Tests
Create a test file in the following directory:
testsFor example, create the file:
tests/visual.spec.tsAdd the following test code:
The issue arises from how the backticks (`) inside the codeString template literal conflict with the surrounding backticks. To handle this, you can escape the inner backticks or use a different quoting style for the codeString value. Here’s how to fix it: Solution 1: Escape the Inner Backticks Escape the inner backticks using a backslash (\): tsx Copy codeimport { test, expect } from '@playwright/test';
test.describe('Visual Regression Tests', () => {
test('About page visual snapshot', async ({ page, baseURL }) => {
// Use baseURL from the Playwright configuration
await page.goto(`${baseURL}/about`);
const screenshot = await page.screenshot();
expect(screenshot).toMatchSnapshot('aboutpage.png');
});
test('About page visual test with maxDiffPixels', async ({ page, baseURL }) => {
// Use baseURL from the Playwright configuration
await page.goto(`${baseURL}/about`);
const screenshot = await page.screenshot();
expect(screenshot).toMatchSnapshot('aboutpage.png', {
maxDiffPixels: 100 // allows for up to 100 pixel differences
});
});
})After completing these steps, your Playwright tests will be automatically executed using GitHub Actions, ensuring a smooth CI/CD workflow for your Next.js application.